
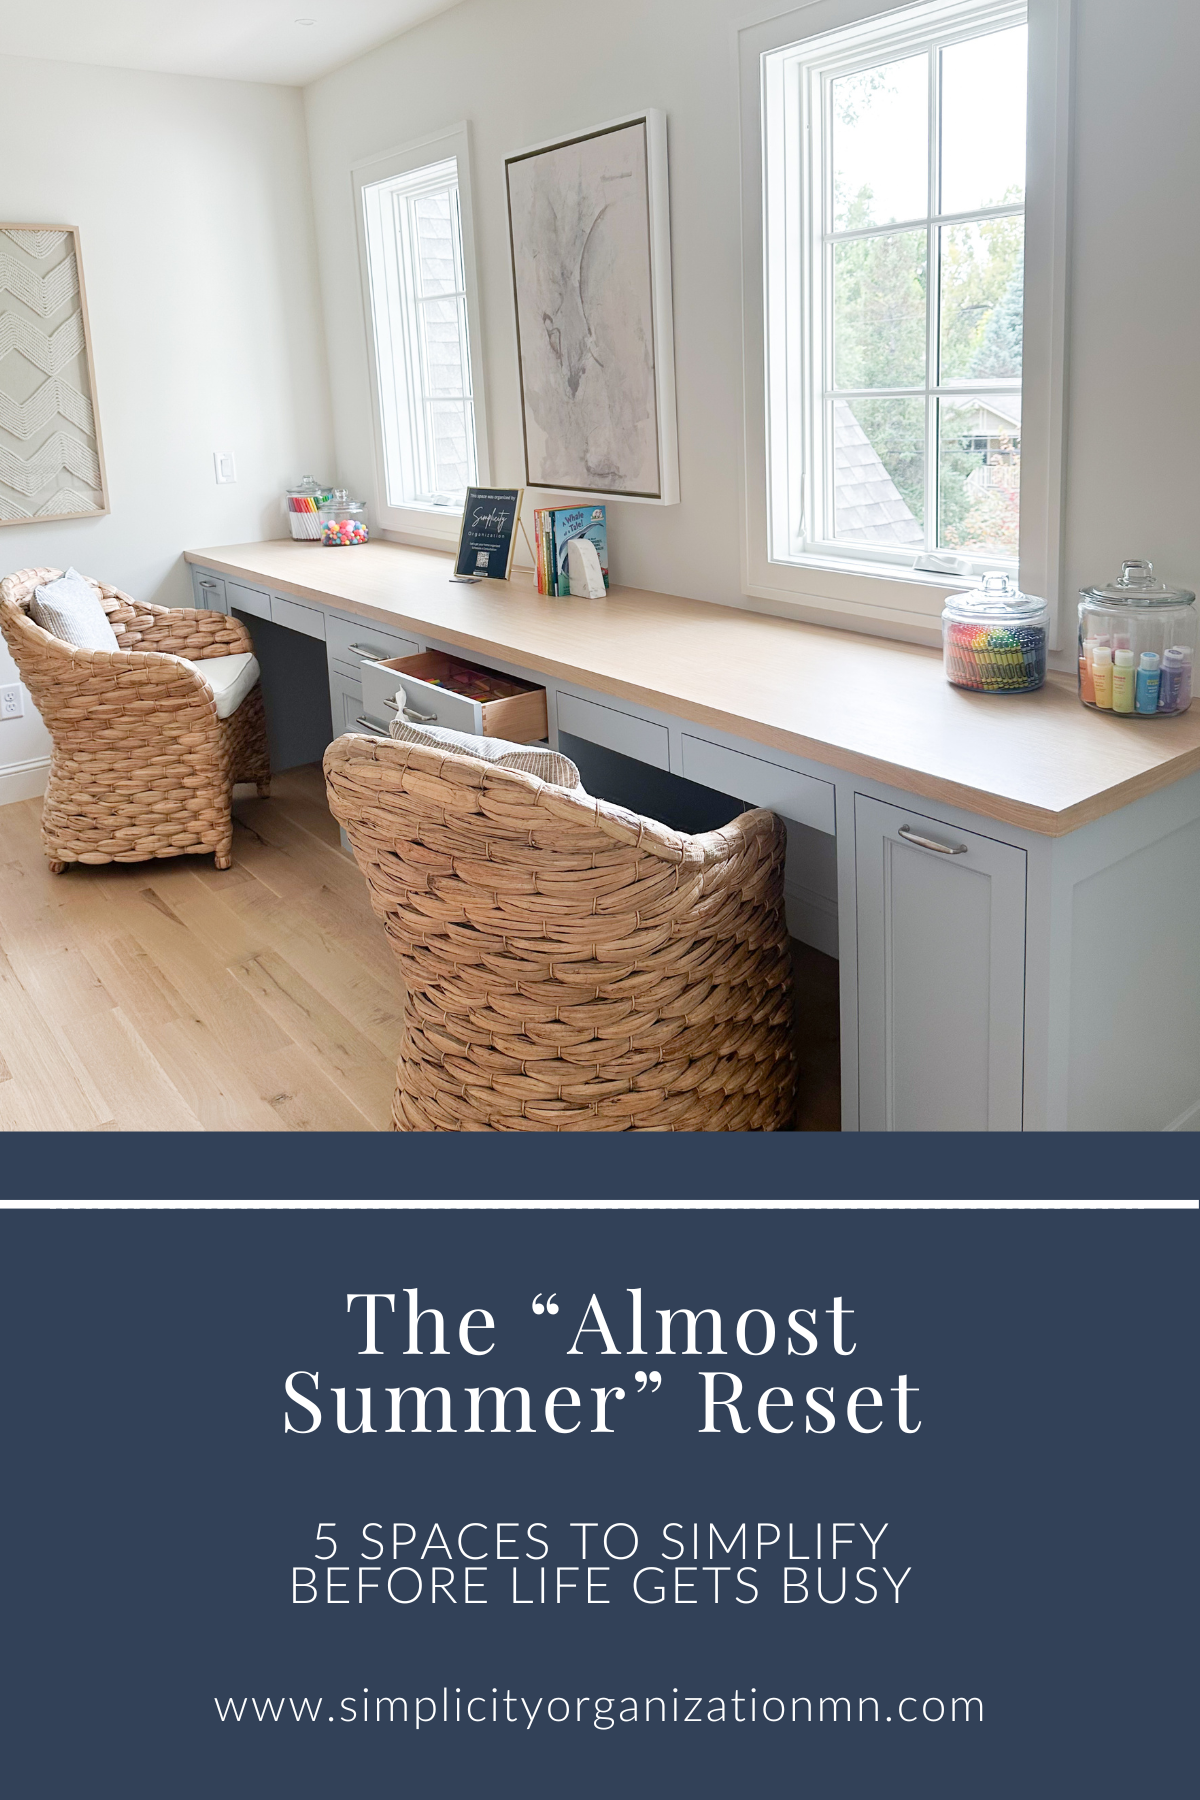
The “Almost Summer” Reset: 5 Spaces to Simplify Before Life Gets Busy
As life shifts into summer mode, home can quickly begin to feel cluttered and chaotic. Here are five simple areas to reset this May to create calmer, more functional spaces before the busy season begins.
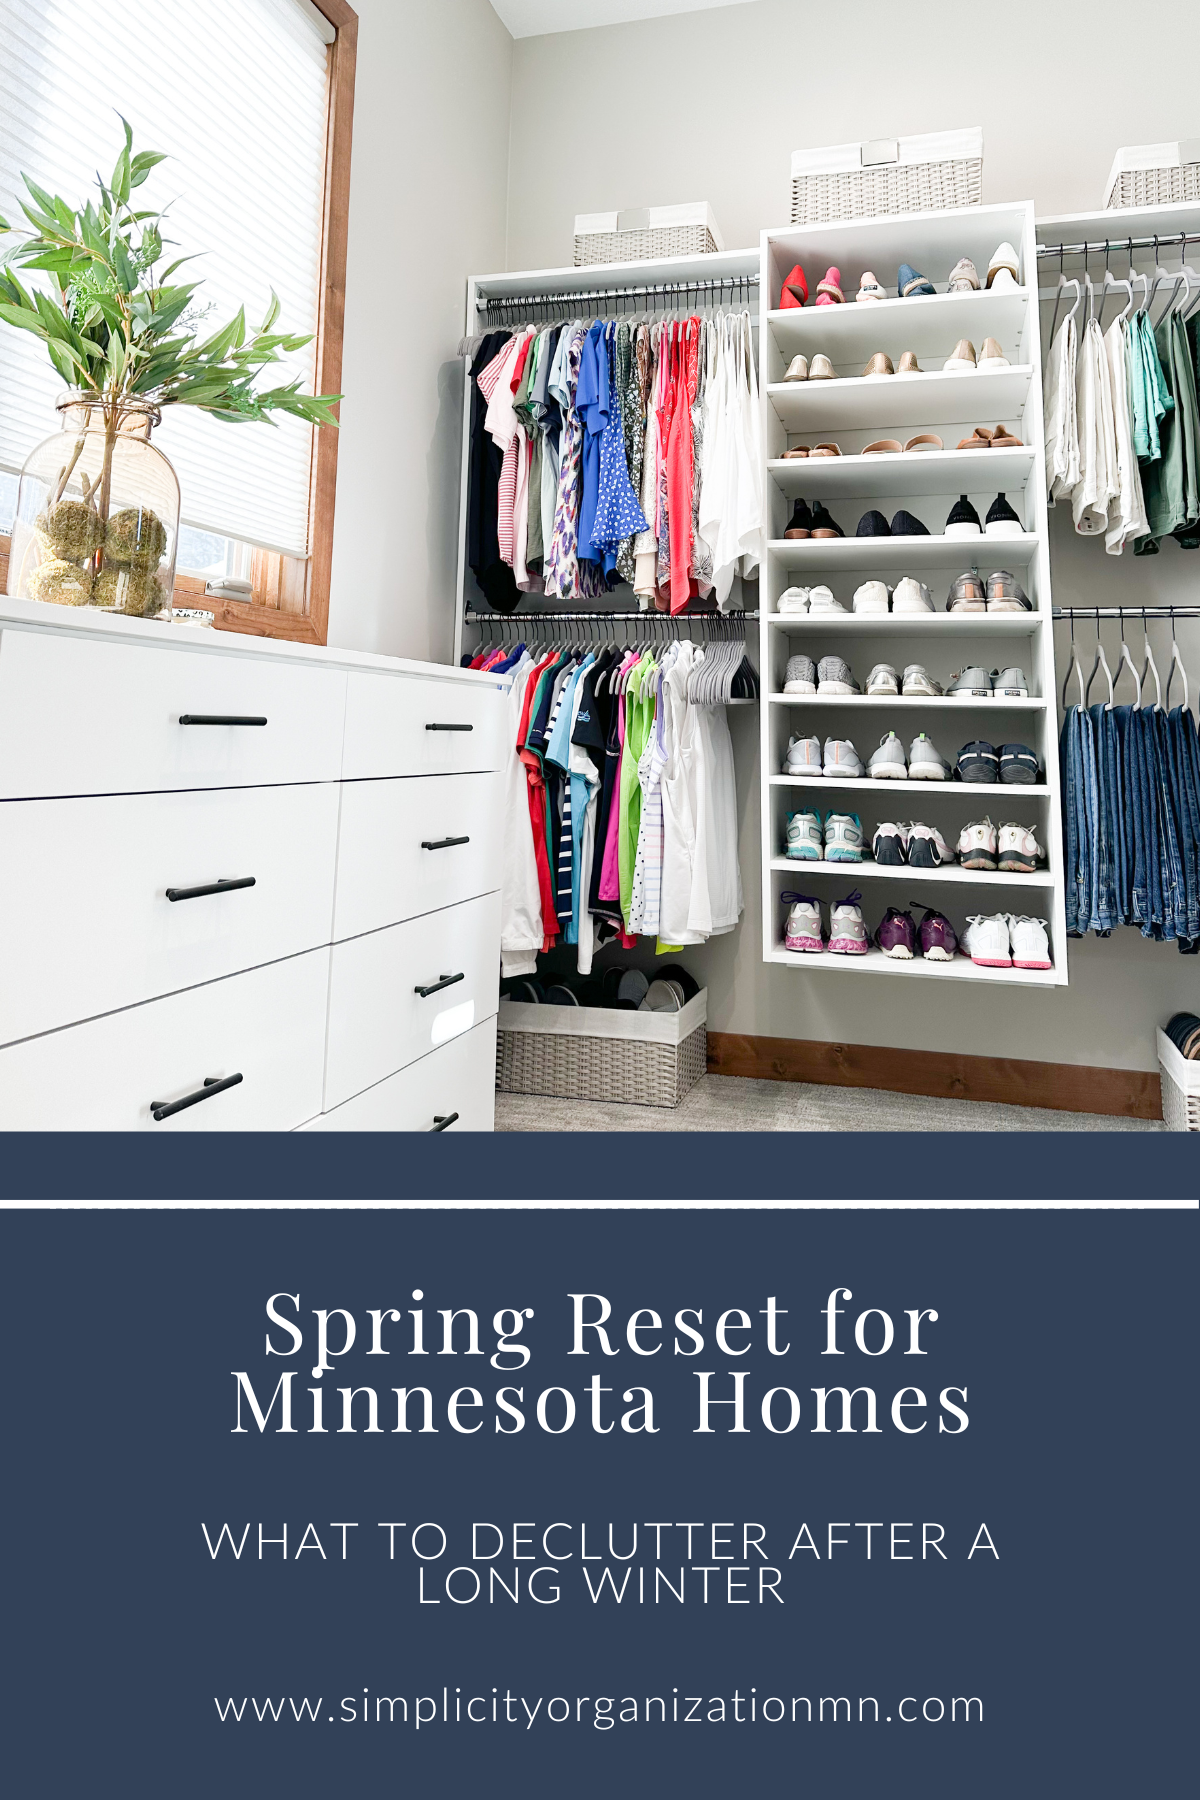
Spring Reset for Minnesota Homes: What to Declutter After a Long Winter
After a long Minnesota winter, our homes tend to hold onto more than we realize. From entryway clutter to overfilled closets, spring is the perfect time to reset your space in a way that actually works for your everyday life.
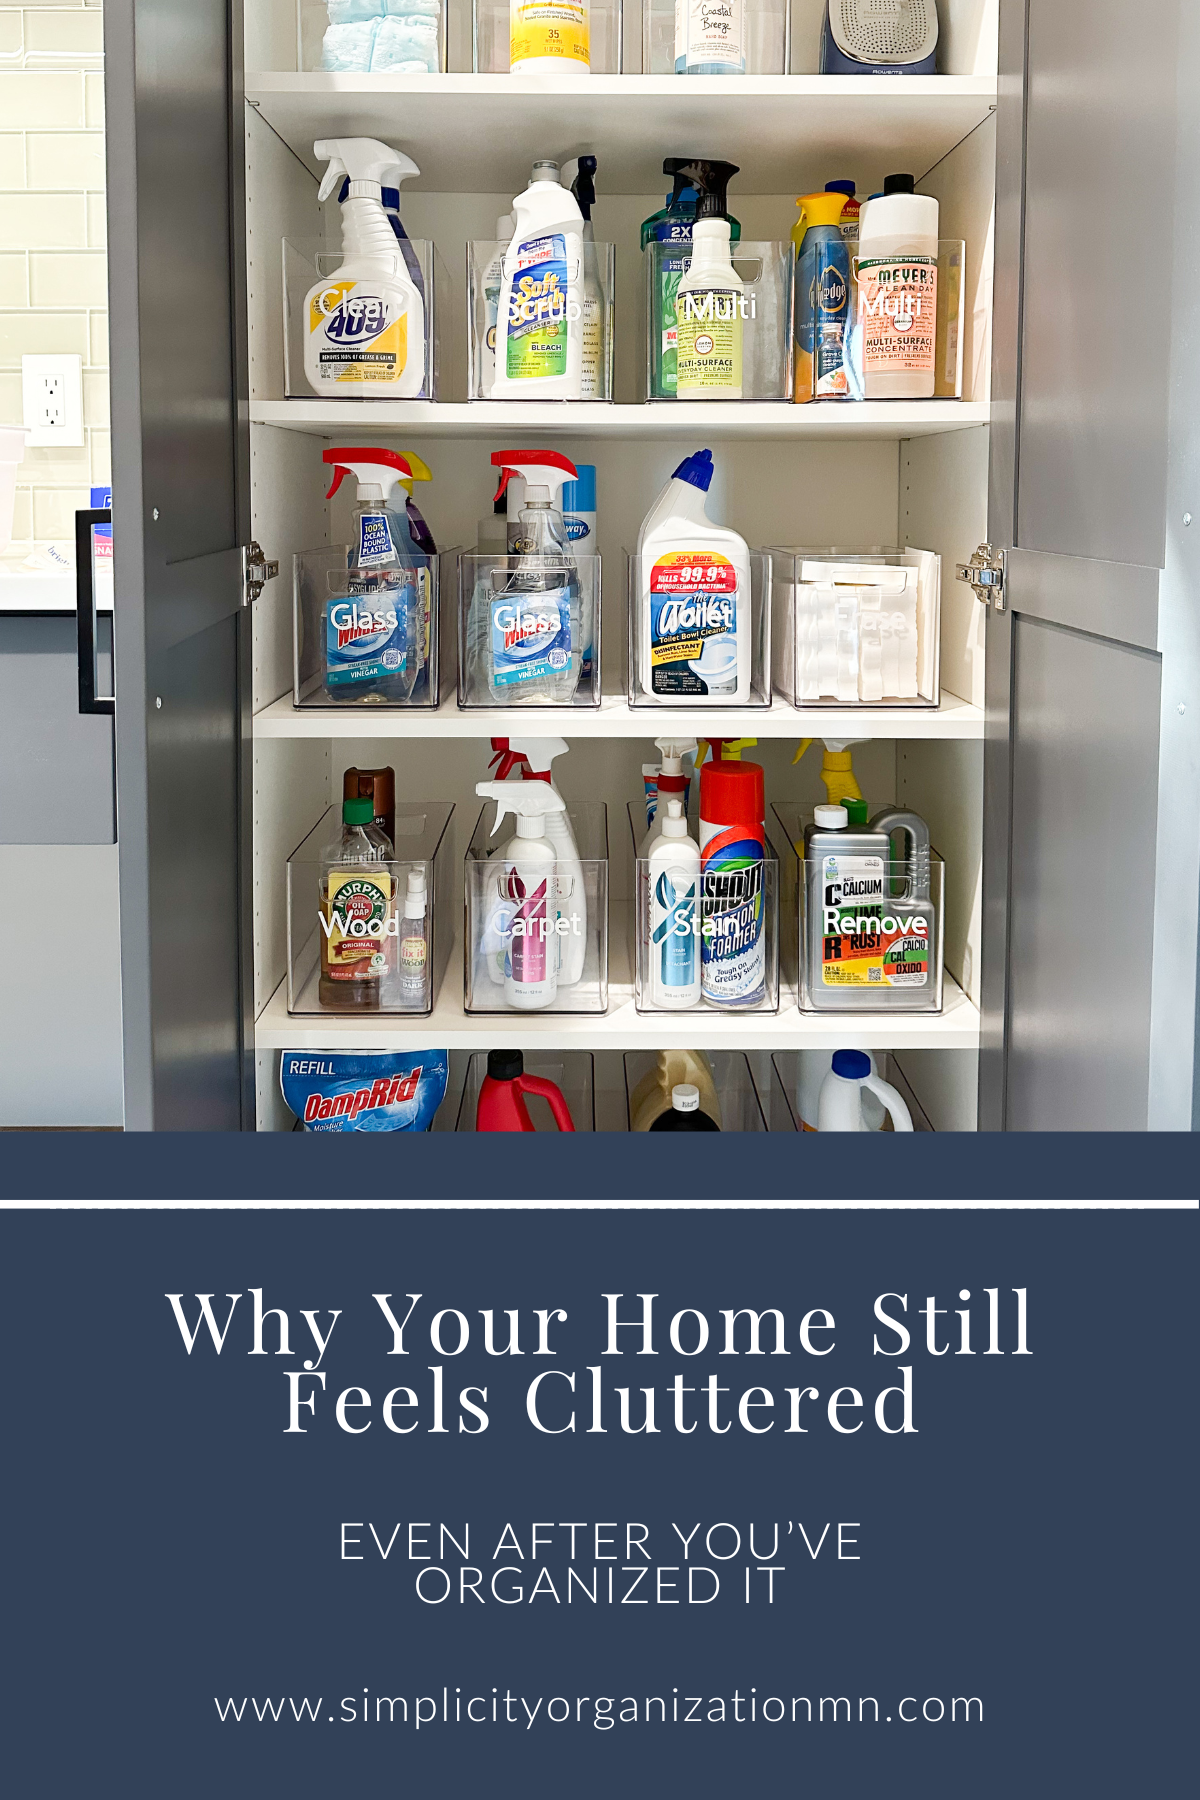
Why Your Home Still Feels Cluttered (Even After You’ve Organized It)
You’ve organized the drawers, bought the bins, and rearranged the shelves — so why does your home still feel cluttered? In this guide for Edina and Minneapolis homeowners, we break down why storage alone doesn’t create clarity — and what actually does.
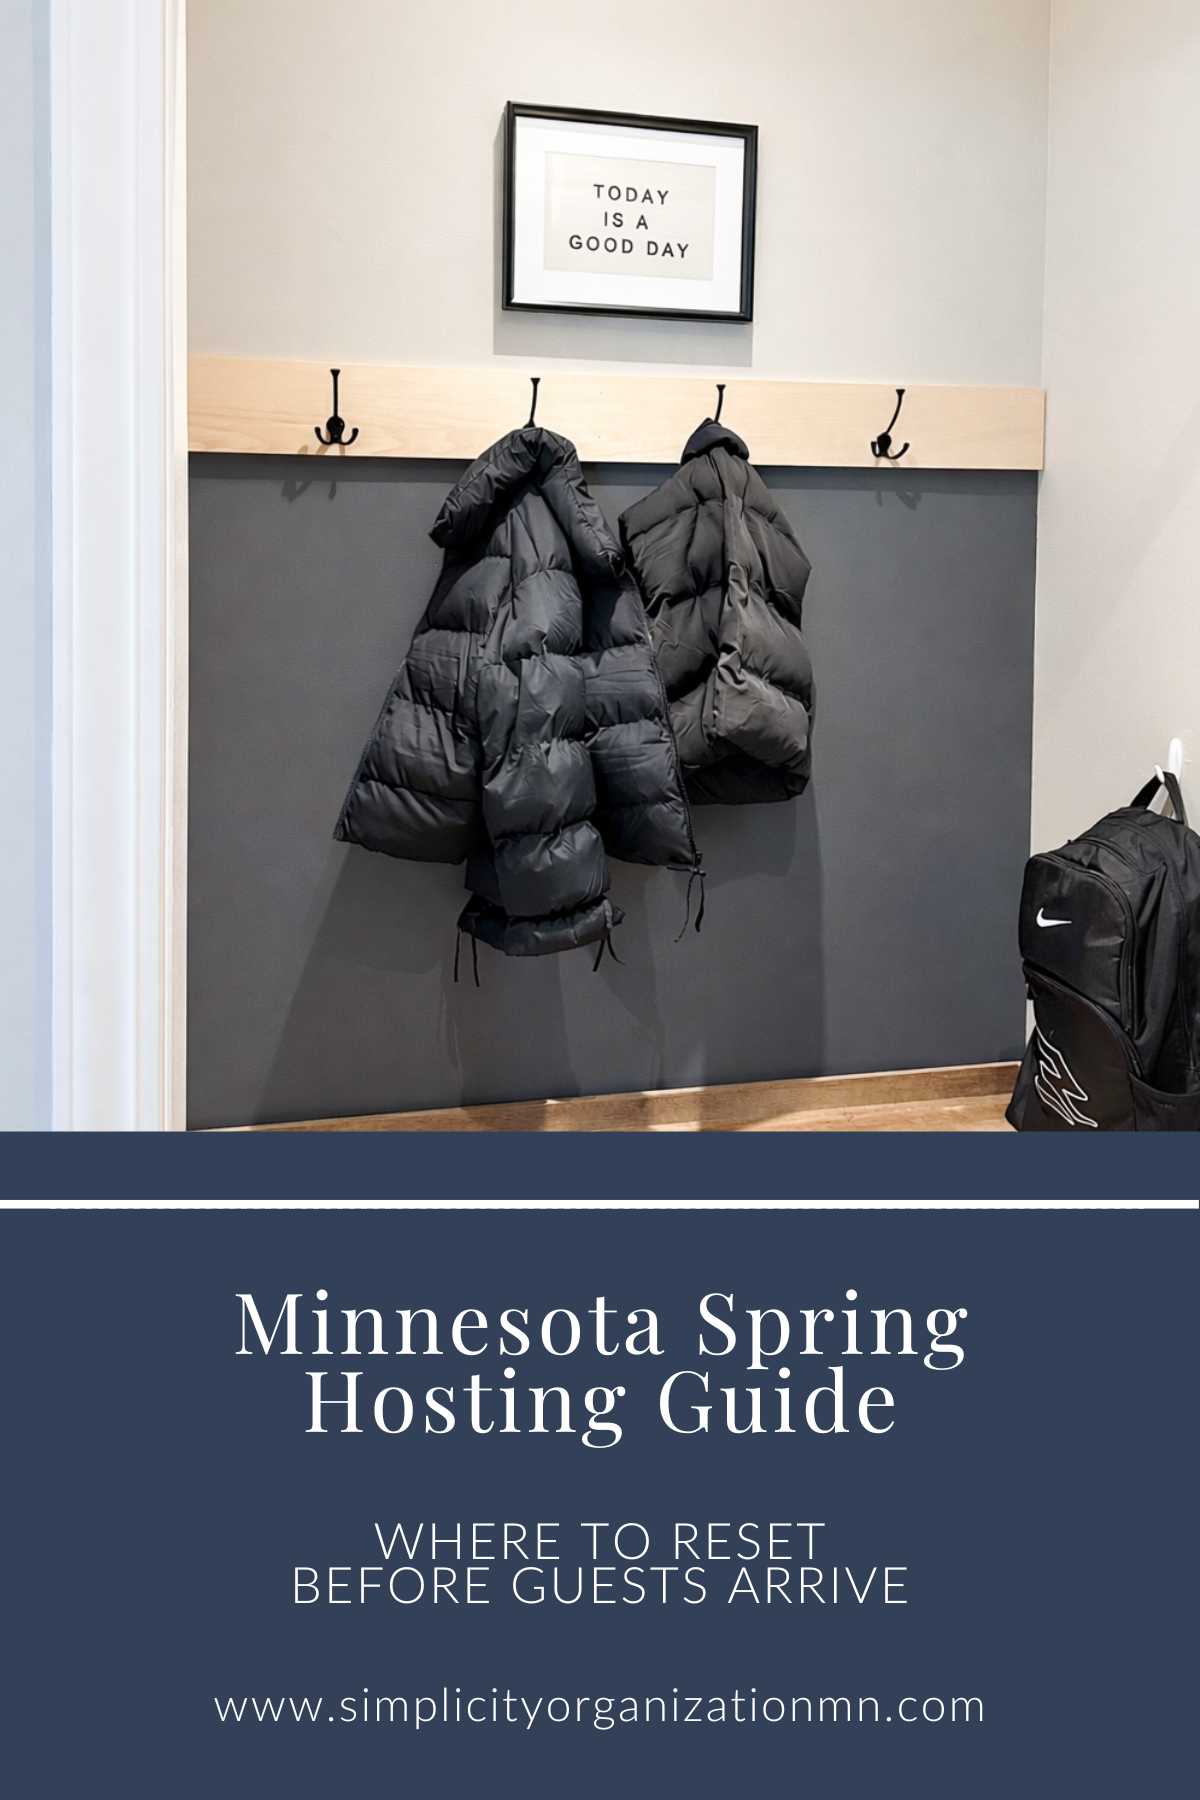
How to Prepare Your Minnesota Home for Spring Hosting
Preparing to host this spring in Minnesota? This Edina and Minneapolis guide shares practical tips to reset your home for guests — from mudroom organization to seasonal transitions — so hosting feels calm, not chaotic.

The Ultimate Minneapolis, Edina & Twin Cities Donation + Recycling Guide
A practical, local guide to donating and recycling in Minneapolis, Edina, and the Twin Cities — so you can declutter responsibly and move items to their next home with confidence.
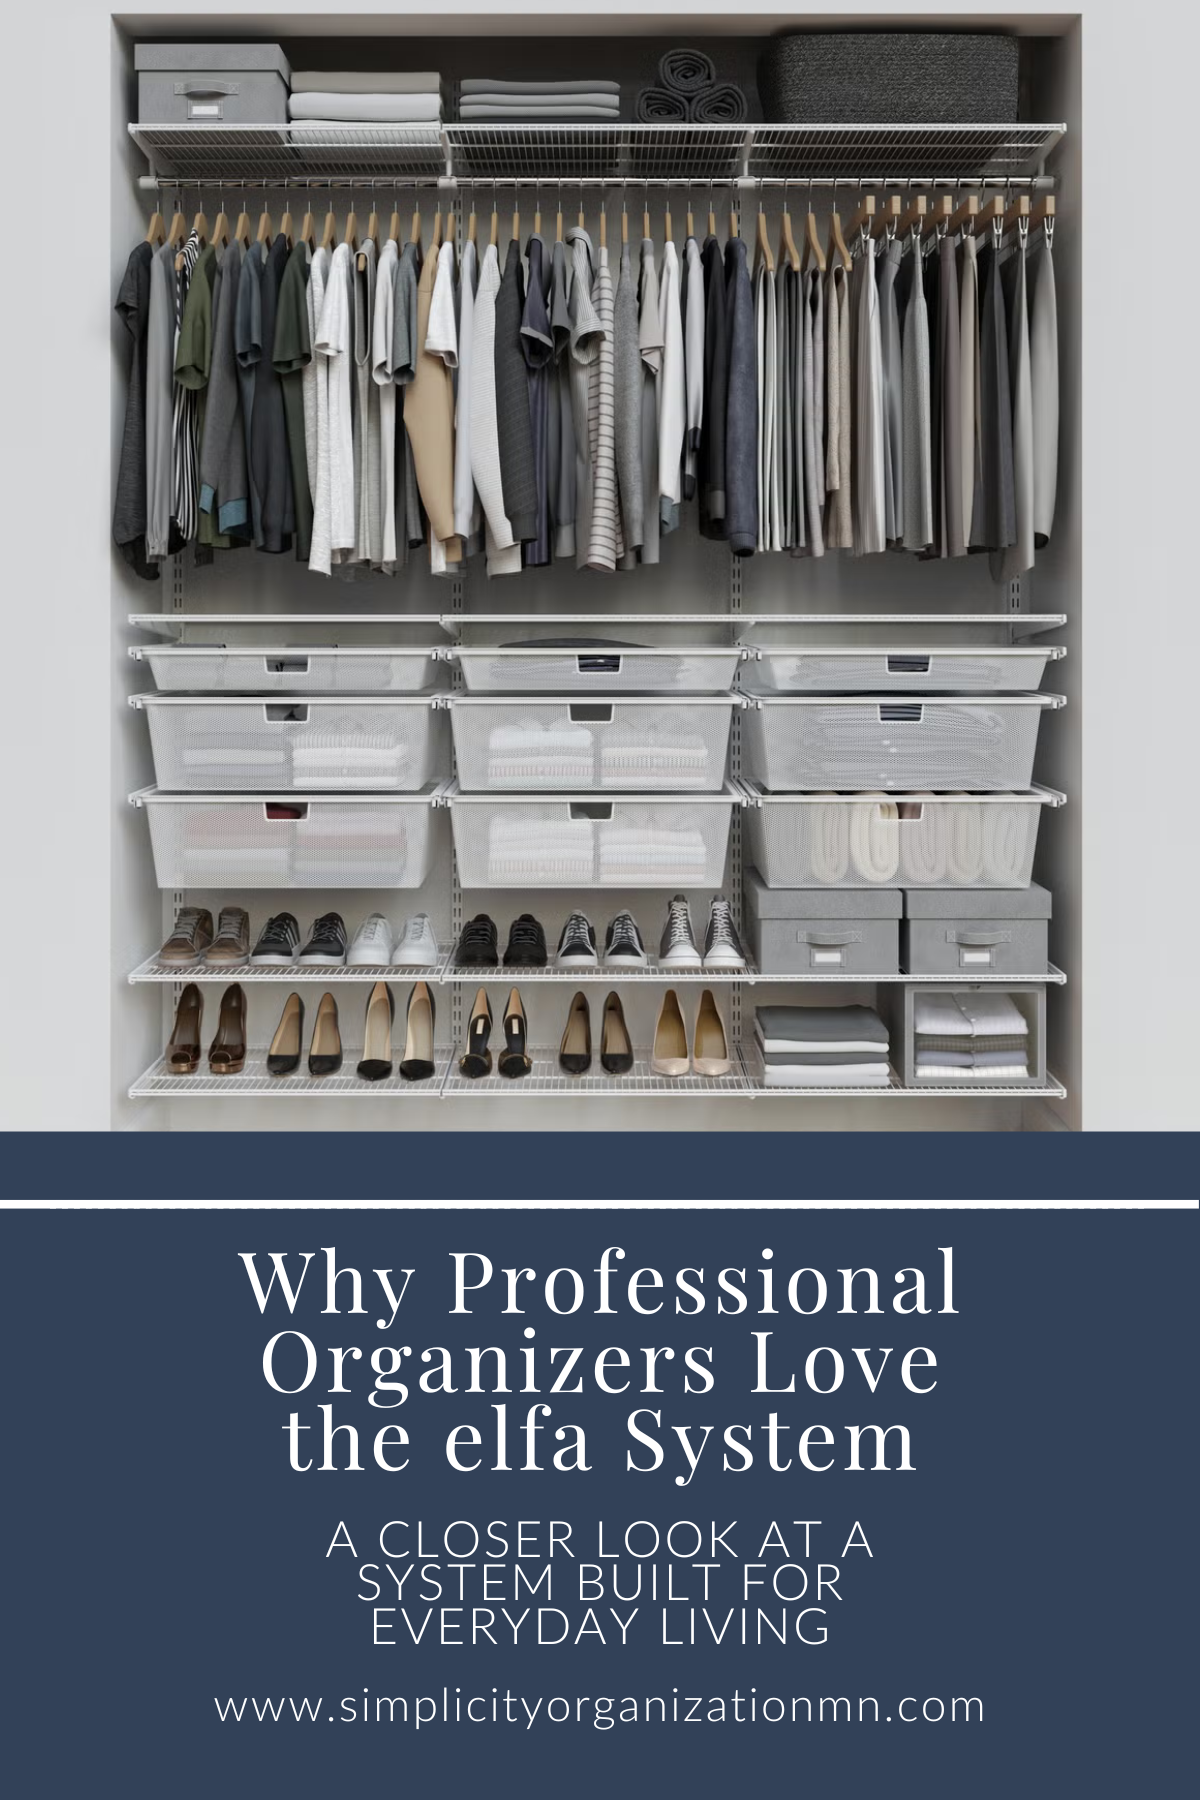
Why Professional Organizers Love the elfa System
Feeling overwhelmed in January? These simple home organization tips offer a gentle reset without perfection, pressure, or starting over.

Early January Check-In: A Gentle Reset Without Starting Over
Feeling overwhelmed in January? These simple home organization tips offer a gentle reset without perfection, pressure, or starting over.

A Fresh Start Without the Overwhelm: How to Reset Your Home in January
January is the perfect time for a fresh start — without the overwhelm. Learn how small, intentional resets can help your home feel calmer, lighter, and easier to maintain all year long.

Holiday Preparation Checklist
Stay organized this holiday season with our simple checklist. A little planning helps reduce stress and creates more time for what matters most—making memories.
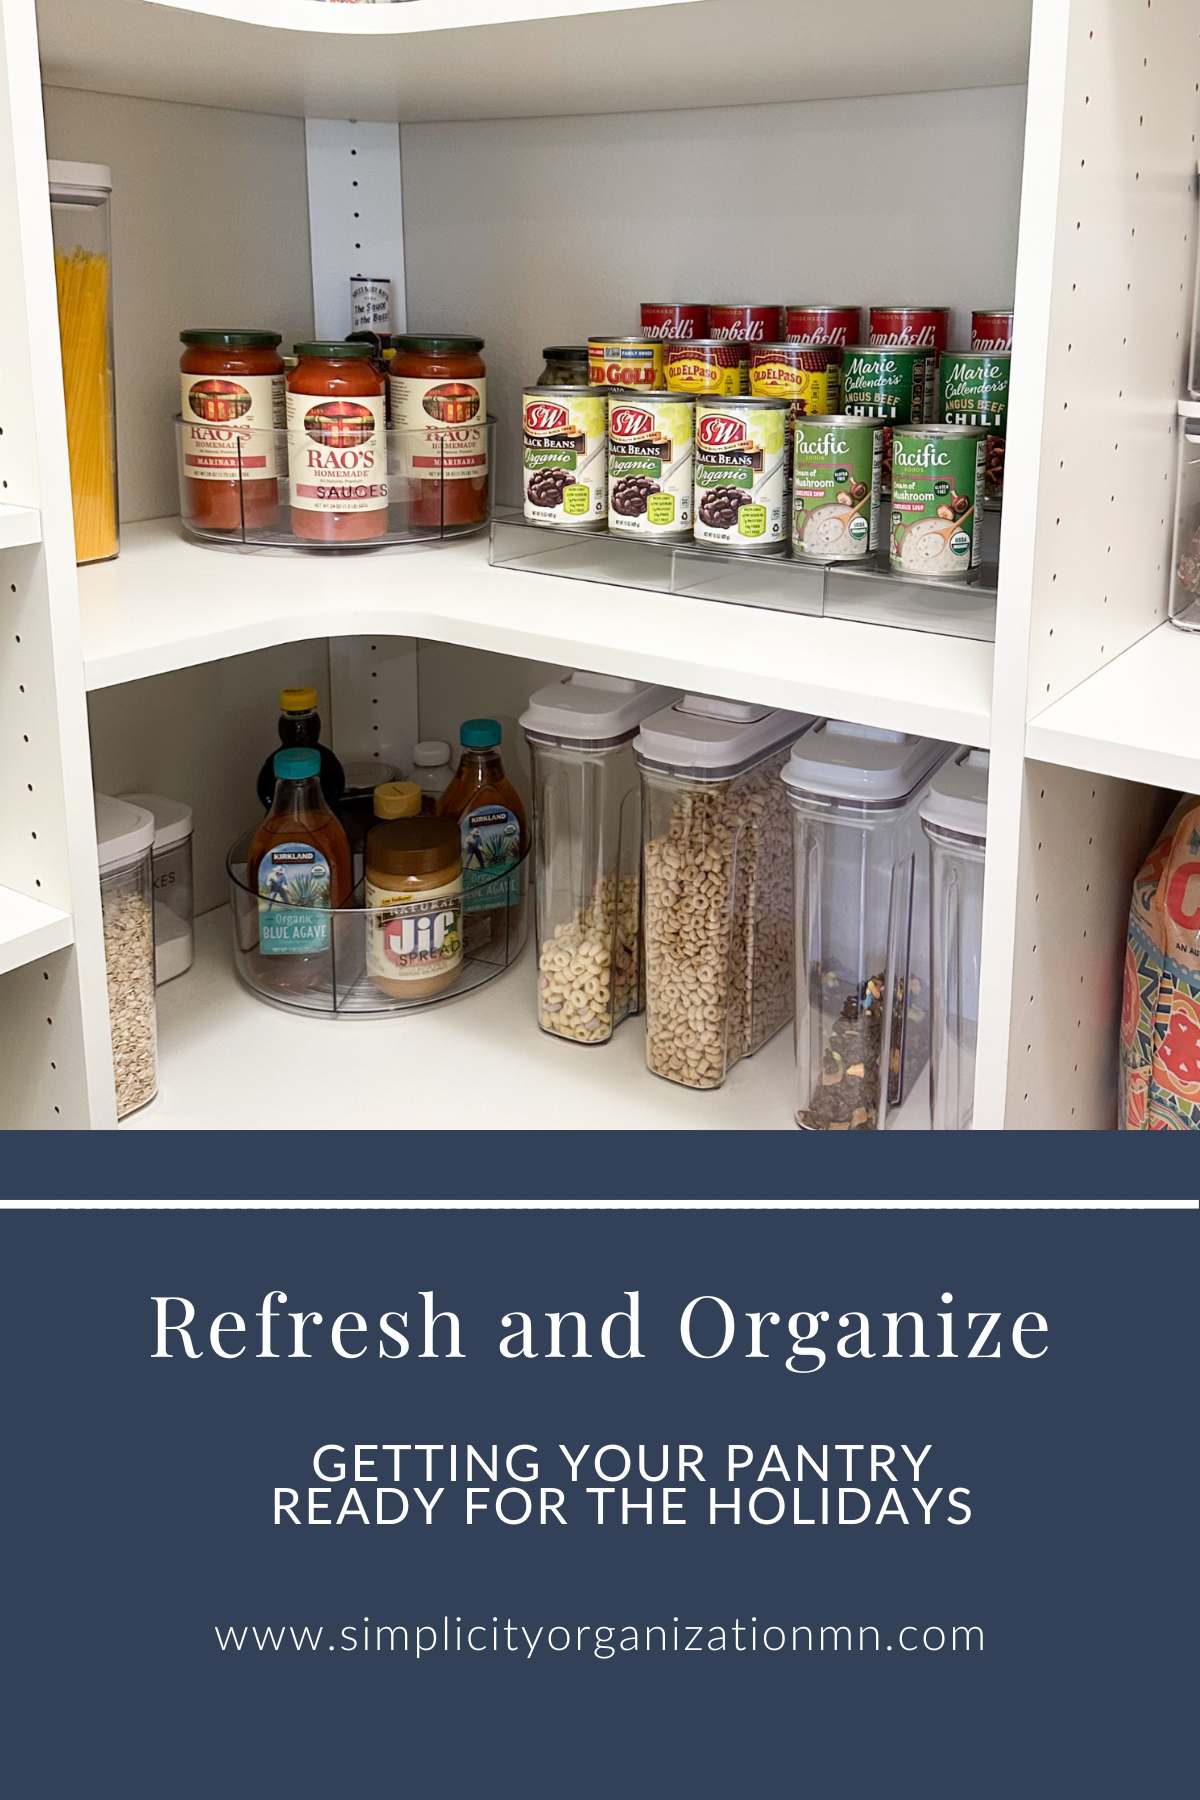
Refresh & Organize Your Pantry for the Holidays
Refresh and organize your pantry before the holidays with simple, functional systems that reduce stress and make everyday meals and entertaining effortless.

5 Tips to Transition Your Closet
Refreshing your closet doesn’t require a full renovation—just a few simple changes can make getting dressed easier and your space feel brand new.